
Ever tried to tag your new business, pop-up shop, or special event on Instagram, only to find it doesn't exist? It's a common frustration, but there's a straightforward fix. The secret is that you can't actually create a new location directly on Instagram. Instead, you need to add a new place through the "Check In" feature on the Facebook mobile app.
Because Instagram is owned by Meta, it pulls all its location data from Facebook’s massive database. So, by creating the location on Facebook first, you’re essentially creating a custom geotag that will become available for your Instagram posts and Stories.
Table of contents
Why a Custom Instagram Location Is a Game-Changer
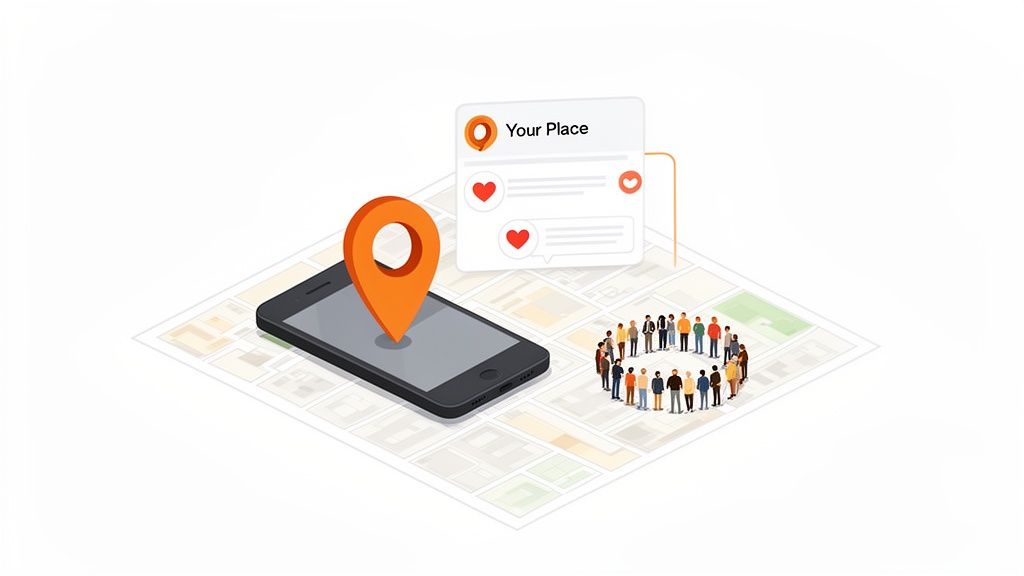
Before we jump into the step-by-step, let's talk about why this is such a powerful move. A custom location tag isn't just a pin on a digital map—it’s a branding and discovery tool that works for you 24/7. Think of it as free, hyper-targeted advertising every time someone tags your spot.
When you create a unique geotag for your business, you instantly become part of the local conversation. People browsing for things to do nearby can stumble upon your brand, turning a casual scroll into real-world foot traffic. This is a must for any brick-and-mortar store, restaurant, or event venue, but it's also a smart play for online brands looking to build a community around a physical headquarters or concept.
The Strategic Impact of a Custom Instagram Geotag
A quick look at the powerful advantages you unlock by creating and using a custom location tag for your business or brand.
| Benefit | How It Helps Your Brand |
|---|---|
| Increased Engagement | Posts with a location get up to 79% more engagement. The algorithm loves this. |
| Local Discoverability | Puts you on the Instagram map, making you visible to nearby users and tourists. |
| User-Generated Content | Encourages customers to tag your business, creating a feed of authentic social proof. |
| Brand Authority | A custom tag looks professional and establishes your business as a legitimate place. |
| Community Hub | It becomes a digital gathering spot for everyone who visits and posts from your location. |
Ultimately, a custom geotag gives you ownership of your brand’s physical (or digital) space on one of the world’s most popular platforms.
Skyrocket Your Engagement and Reach
It's worth repeating: adding a location to your posts can boost your engagement by a staggering 79%. On a platform with over 2.35 billion monthly users, that's not a small difference. Posts tied to a specific place just feel more tangible and relevant, which is why users are more likely to interact with them.
This spike in engagement signals to the Instagram algorithm that your content is valuable, which can lead to even greater visibility. But beyond the algorithm, it builds legitimacy and sparks a real community movement.
A custom location tag gives your followers a digital space to rally around. It encourages them to tag your business in their own posts and Stories, creating a self-sustaining cycle of user-generated content that acts as authentic social proof.
Drive Discoverability and Build a Community
A unique tag makes your brand instantly searchable within Instagram's map feature. Imagine a coffee lover browsing the map for a new cafe—if your shop has its own tag, you're on their radar. Even a fully online business can create a tag for its "HQ" to give followers a stronger sense of connection.
It's a subtle but incredibly effective way to manage your brand's digital footprint. Making it easy for people to find and interact with you is fundamental to growth. In fact, it's the same principle behind optimizing your link in bio—you're removing friction and making it effortless for your audience to connect.
Laying the Foundation with a Facebook Business Page
Ever wondered where Instagram gets its location tags from? It all comes from Facebook. Since Meta is the parent company, Instagram’s location database is pulled directly from Facebook’s system. This means if you want to create a brand new, custom location for your business, you absolutely have to start with a Facebook Business Page.
There's no other way around it. Think of your Facebook Page as the source code for your custom geotag. Without a physical, mappable address linked to a business profile on Facebook, Instagram simply has nowhere to pull your location from. This is the first and most critical step.
Getting Your Facebook Page Set Up Right
Don't have a Business Page yet? No problem, creating one is quick, and you only need to focus on a few key details for this to work.
The most important piece of the puzzle is choosing the right category. When you set up the page, select something like 'Local Business' or 'Restaurant'. This is a direct signal to Meta that your page represents a real, physical place people can visit.
Next, you need to add your street address. Be meticulous here—double-check the street name, city, and zip code. This exact information is what generates the pin on the map. I also recommend making sure your phone’s location services are turned on for the Facebook app. It helps the platform see you're creating a legitimate spot, which can seriously smooth out the approval process.
The accuracy of the address and category you pick on your Facebook Page is everything. It directly determines if your location gets approved and how easily people can find and tag it on Instagram.
This setup might feel a bit like homework, but getting these details right from the start makes the rest of the process a breeze. Properly establishing your page is a huge part of building a strong online presence that bridges the gap between your digital brand and your real-world location. Once your page is configured, you're all set for the next step.
How to Create Your Own Instagram Location, Step-by-Step
Ready to put your brand on the Instagram map? Now for the fun part: creating the custom geotag itself. The whole thing happens inside the Facebook mobile app using the 'Check In' feature. It’s one of those hidden-in-plain-sight tricks that’s incredibly simple once you know the secret.
You don't need to dig through a dozen complicated settings menus. It all starts with creating a post you won't even have to publish.
Kicking Off the Location Creation
First things first, grab your phone and open the Facebook app. Tap on the "What's on your mind?" field at the top to start a new post. Just below where you’d type, you’ll see a row of icons—look for the red location pin labeled ‘Check In’ and give it a tap.
This will bring up a list of places near you. Now, head straight for the search bar at the top and type in the exact name you want for your new location. For example, if you're launching "The Bloom Room Cafe," type that in. Don't worry when it doesn't show up in the results; that's actually exactly what we want.
Adding Your New Place
Once your search comes up empty, scroll all the way to the bottom of the list. See that blue button with a plus sign that says 'Add a new place'? That’s your golden ticket. Tapping it opens up the creation screen where you can finally bring your custom spot to life.
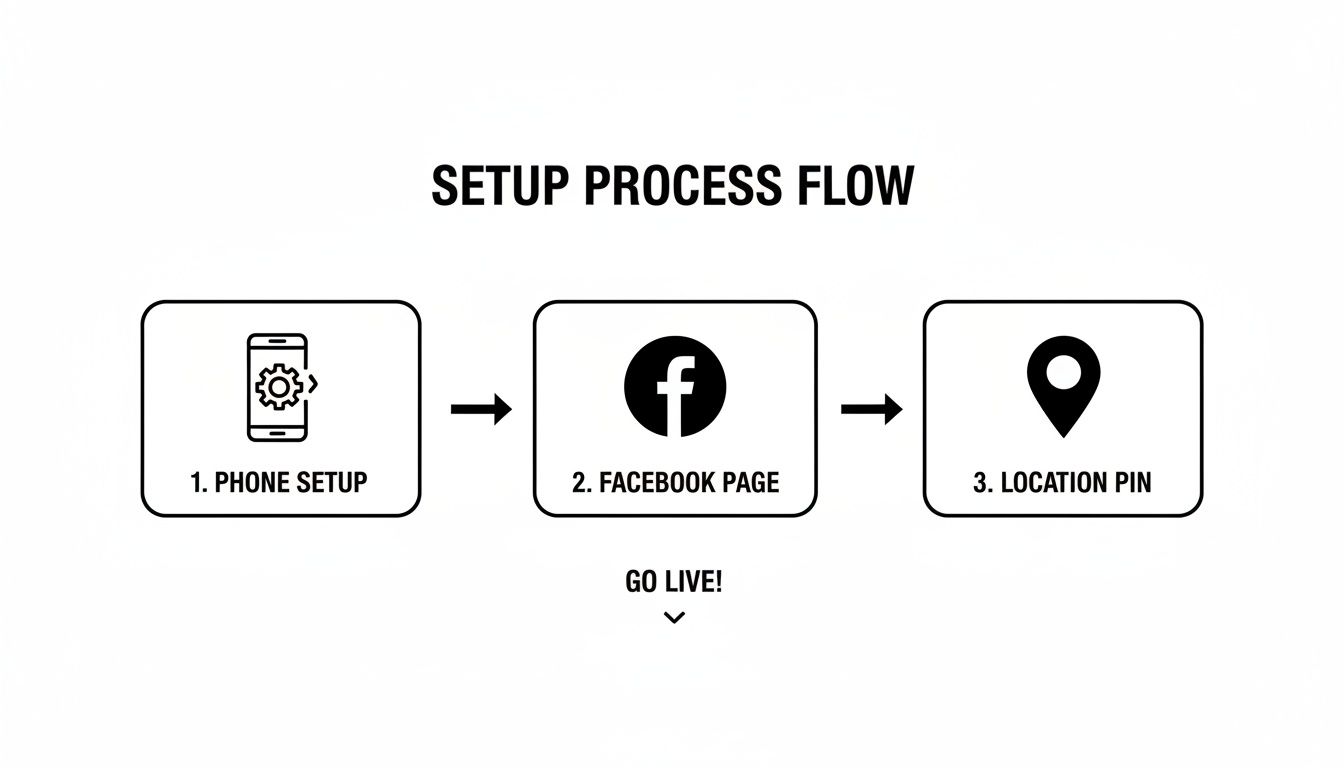
This entire workflow just shows how Meta uses Facebook as the central nervous system for all location data that eventually makes its way to Instagram.
On this screen, you’ll need to fill out a few key details:
- Place Name: This is the name that will show up on Instagram. Make it unique and instantly recognizable to your audience.
- Address: Pop in the full street address. Getting this right is critical for the map pin to land in the correct spot.
- Category: Pick a category that best fits your business, like Coffee Shop or Boutique Store.
Pro Tip: When you get to the map, zoom in as far as you can to place the pin. I mean really zoom in. Dropping it right on your front door will save your future customers a ton of headaches when they’re trying to navigate to you.
After you've filled everything out and nailed the map pin placement, tap 'Save Custom Place'. And that’s it! You’ve officially submitted your location to Meta's massive database. It just needs a little time to sync over to Instagram.
This whole process is about creating a precise, branded anchor point, much like how you would strategically build out a link-in-bio grid to make sure every visitor finds exactly what they're looking for.
Troubleshooting: When Your New Location Plays Hide-and-Seek
So you did everything right. You created the location on Facebook, you're ready to make that first triumphant post on Instagram, and... it's nowhere to be found.
Don't panic. This is way more common than you'd think, and it almost never means you messed up. The sync between Facebook’s massive location database and what shows up on Instagram isn’t always instantaneous.
More often than not, the culprit is just a simple delay in Meta's system. It can take a few hours, and sometimes even a couple of days, for a new place to get indexed and pop up as a searchable tag on Instagram. Honestly, the best first step is to just be patient.
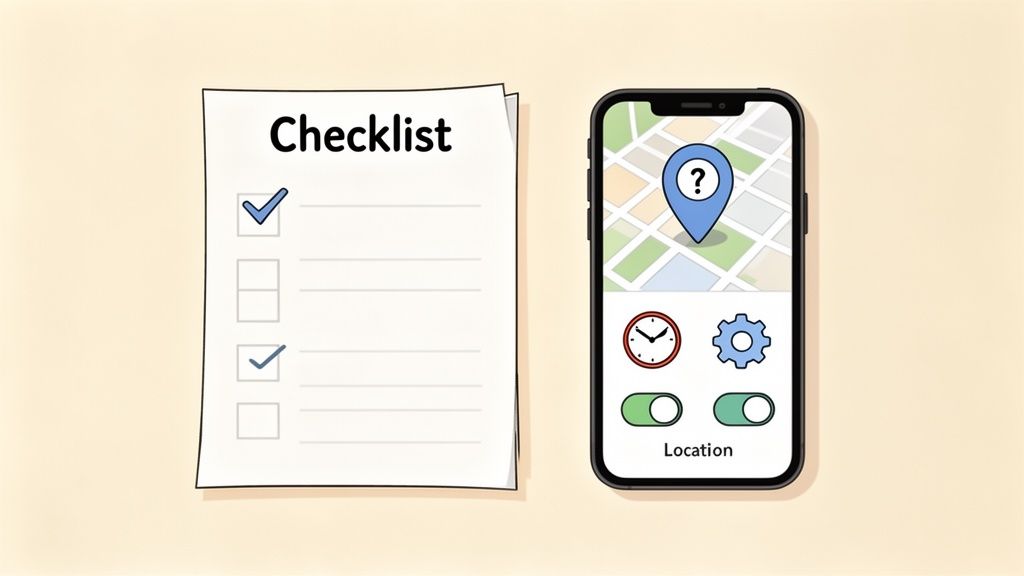
But if you've given it a reasonable amount of time and you're still coming up empty, it's time to roll up your sleeves and do a little digging.
Running Through The Location Checklist
Before you get too frustrated, let's work through a few quick and effective fixes. I’ve seen these simple steps solve the problem 99% of the time.
- App Permissions: First things first, are you giving the apps what they need? Dive into your phone’s settings and make sure both the Facebook and Instagram apps have permission to access your location. If that toggle is off, you’re not going to get very far.
- The Classic Reboot: It sounds too simple, but it works. Completely close out of both apps (don't just send them to the background). For good measure, restart your phone. This little refresh can be just the kick the apps need to sync up properly.
- Double-Check Your Address: Go back to your Facebook Business Page and scrutinize the address you entered. Is it 100% accurate? A tiny typo or an incorrect zip code can easily throw the whole system off and prevent your location from being indexed.
- Uniqueness Matters: Did you name your location something super generic like "Coffee Shop" or "My Studio"? If so, it's probably getting buried under thousands of identical tags. Try creating a more specific and unique name to help it stand out.
My rule of thumb? Give it a solid 24-48 hours after creating the location before you start worrying. Think of it as letting the digital paint dry. The system just needs a moment to catch up.
Common Issues and Quick Fixes
Sometimes the problem is a bit more specific. I've put together this quick-reference table to help you diagnose the issue and get it sorted out fast.
| Problem | Potential Cause | Solution |
|---|---|---|
| Location appears on Facebook, but not Instagram | Sync Delay | Wait 24-48 hours. This is the most common reason and usually resolves itself. |
| Can't find the location on any device | Incorrect Address or Generic Name | Go back to your Facebook Page and verify the physical address is exact. If the name is too common, try creating a new, more unique location. |
| It worked before, but now it's gone | Account Disconnection | Re-check the connection between your Instagram and Facebook accounts in your settings. A recent password change can sometimes sever this link. |
| "Add Location" option is grayed out | App Permissions | Go to your phone's settings and ensure you have enabled Location Services for the Instagram app. A restart might be needed afterward. |
Running through these checks will resolve most issues. When you're managing multiple social profiles, having a streamlined process is a game-changer. If you find yourself juggling too many things, exploring different platforms in this social media management tools comparison can reveal ways to make your entire workflow much smoother.
Showcasing Your Location Beyond the Instagram Feed
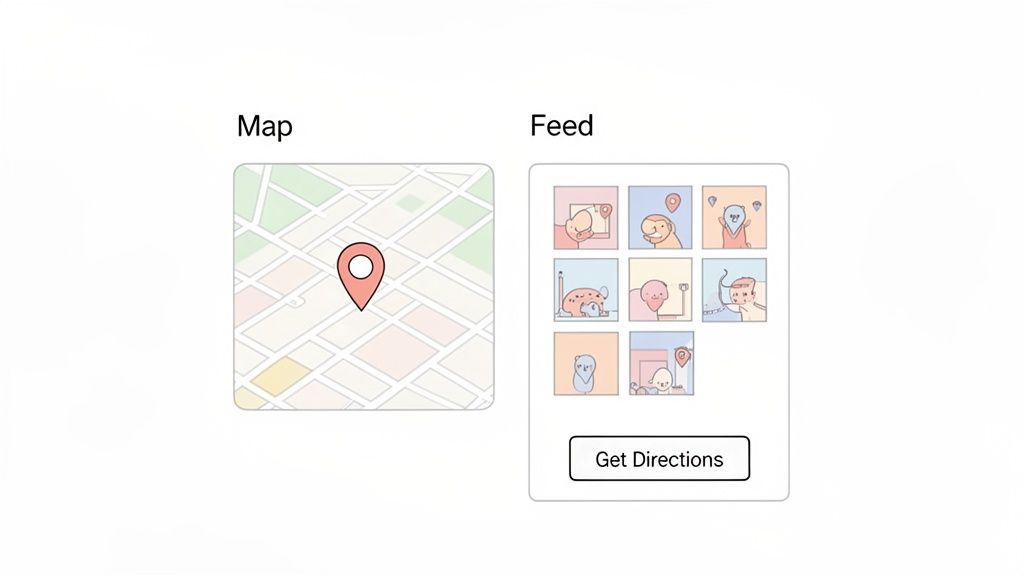
Alright, your new custom location is officially on the map! You can start tagging it in your Posts and Stories, which is great, but don't stop there. Just keeping it in the feed is a huge missed opportunity to truly connect your digital presence with your physical one.
The real game-changer is when you put that location front-and-center in your bio. This turns a simple link page into an interactive hub for your brand, closing the gap between someone scrolling on their couch and them walking through your actual front door.
Make Getting to You Effortless with an Integrated Map
Think about it from a follower's perspective. They see your amazing post, get inspired, and decide they want to visit. The last thing you want is for them to leave Instagram, open a new app, and search for you. That's friction.
You can completely eliminate that extra work. Tools like Taap.bio let you embed a live Google Maps widget right on your link-in-bio page.
This gives your audience a visual, one-tap way to see exactly where you are and get directions. It's a ridiculously simple upgrade, but it makes the user experience so much smoother and seriously increases the odds of them actually showing up.
Placing an interactive map on your link-in-bio page isn't just a convenience—it's a statement. It shows you've thought about the entire customer journey, from online discovery to offline interaction.
When you really dial in your link-in-bio for Instagram, you can strategically place this map right alongside your latest offers or featured products. It builds a beautiful, cohesive profile that makes your physical spot feel like a core part of your brand, not just an afterthought.
Sticking Points and Quick Fixes
As you go through this, a few common questions always pop up. I’ve seen them all, so let’s tackle them head-on before they slow you down.
Why Can’t I Just Add a Location on Instagram?
This is easily the number one question. You used to be able to, but not anymore. The simple answer is that Meta decided to centralize things. Instagram now pulls its entire location database directly from Facebook, which means the Facebook "Check In" feature is the only way to get a new spot on the map.
What if I Don't Have a Physical Address?
This is a great question, especially for online-only businesses or service providers. A real, mappable address is technically needed to drop a pin, but you can definitely get creative here.
Think about using a relevant, public address as a stand-in. This works surprisingly well.
- A local co-working space you use.
- The city hall or a central park in the area you serve most.
- The address of a recurring farmer's market or pop-up event you attend.
The goal is to give your customers and community a real place to tag your brand, creating a digital anchor even without a traditional storefront.
The biggest piece of advice I can give is to be patient. Once you create the location on Facebook, it won't appear on Instagram instantly. It can take a few hours or even a couple of days to sync up. Don't panic if you don't see it right away.
How Long Does It Really Take to Appear?
Speaking of patience, this is the most common frustration I hear about. The sync between Facebook and Instagram isn't immediate. Before you start thinking it didn't work, give the system a solid 24-48 hours to do its thing. Most of the time, the location will pop up within that window.
Once your location is live, make it easy for your followers to find you. Your link-in-bio is the perfect spot. With Taap.bio, you can drop an interactive Google Maps widget right onto your page, giving people a direct path from their feed to your front door. It’s a huge step up from a simple address line. You can build a more functional and beautiful hub for your brand at https://taap.bio.


