If you want to get the most out of your online presence, you need to bring your Instagram feed directly to your audience by embedding it on your website or link-in-bio page. You've got a few ways to do this: a quick single-post embed from Instagram itself, a dynamic grid using a third-party widget, or full custom control with the Instagram Graph API. This guide will walk you through each path, helping you keep your site fresh, engaging, and effective.
Table of contents
Why You Need an Embedded Instagram Feed in 2026
Let's be real—a simple link to your Instagram profile just doesn't cut it anymore. People expect more, and they want to see your vibrant, interactive content right where they are. By 2026, having an embedded Instagram feed isn't just a nice touch; it’s a non-negotiable for turning a static webpage into a living, breathing extension of your brand.
When you display your live Instagram content, you grab a visitor's attention immediately. Instead of sending them away with a link, you give them a reason to stick around with a constantly updating gallery of your best work. I've seen it time and again: this one change can significantly boost how long people stay on your page. Visuals and social proof are simply that powerful.
Build Authenticity and Social Proof
An active, embedded feed is your secret weapon for building social proof. It's a visual guarantee to potential customers and fans that there's a real, active community behind your brand. This is far more convincing than just saying you're on Instagram.
By showcasing your latest posts, you’re not just sharing images; you’re demonstrating consistency and proving that your brand is current and actively engaging with its audience. This builds a layer of trust that static text and images simply cannot replicate.
Think of it as a strategic shortcut. Every time you post on Instagram, your website gets a fresh piece of content without you having to lift a finger. This signals to both visitors and search engines that your site is active, relevant, and worth paying attention to.
Drive Engagement and Conversions
Integrating your feed makes for a much smoother journey for your visitors. They can explore your latest products, see community highlights, or check out user-generated content without ever leaving your site. This is a game-changer for e-commerce brands and creators. Imagine featuring posts of happy customers using your products right next to the "Add to Cart" button—it connects the dots instantly.
This direct feedback loop also helps you figure out how to increase social media engagement, as you can see what resonates with your website visitors in real-time.
By making your Instagram feed a core part of your site, you unlock several key advantages:
- Keeps Content Fresh: Your website automatically updates with your latest posts, saving you valuable time.
- Increases Session Duration: Engaging visuals keep people on your page longer, which is a big win for your site's metrics.
- Boosts Brand Authenticity: A live feed offers a transparent, real-time look into your brand's personality.
- Drives Sales: Showcase your best user-generated content or product shots right where buying decisions happen.
Ultimately, embedding your Instagram feed is an investment in a more connected and persuasive online presence. It transforms a passive webpage into an active destination that builds community and drives results.
Comparing Your Instagram Feed Embedding Options
So, you’ve decided to add your Instagram feed to your website. That’s a fantastic move for boosting engagement and showcasing your brand’s personality. But before you jump in, it’s worth knowing there’s more than one way to get it done, and the path you choose can drastically affect the effort, cost, and final look.
Think of it like this: you can grab a quick screenshot, build a custom car from scratch, or drive a sleek, ready-to-go model off the lot. Each approach gets you somewhere, but the experience and the result are completely different. Let's look at your options.
The Quick Fix: Instagram’s Native Embed
If you need to feature just a single, specific Instagram post—maybe a contest winner or a major announcement within a blog post—then Instagram’s own embed feature is your fastest route.
You just find the post, click the three dots, select "Embed," and copy the code. Paste that into your site's HTML, and you're done. It's dead simple. The glaring downside? It’s a one-trick pony. You can only show one post at a time, which means you can’t create the dynamic, multi-post gallery that most people are looking for.
The Power User’s Path: The Instagram Graph API
For those who crave absolute control over every pixel, the Instagram Graph API is the ultimate tool. This is the developer-centric approach where you pull your Instagram data directly and build a completely bespoke feed from the ground up. The layout, the colors, the interactive elements—everything is under your command.
But all that power comes with a steep learning curve. This isn't a casual afternoon project. It requires a developer account, setting up an app, handling complex access tokens, writing the code, and performing ongoing maintenance to keep it all running. It's the high-effort, high-reward option, really only practical for large companies with dedicated developers on staff.
The Smart Middle Ground: Third-Party Widgets
This is where most of us land, and for good reason. Third-party widgets give you the best of both worlds: the power of a custom feed without the technical nightmare of coding it yourself. These tools do all the heavy lifting with the API behind the scenes.
Your job becomes the fun part: using a simple dashboard to pick a layout (like a grid, carousel, or slider), tweak colors and fonts to match your brand, and even filter posts by hashtags. It’s the perfect solution for anyone who wants a beautiful, professional, and always-updated feed without touching a line of code.
A great example is the "smart widget" approach you find on platforms like Taap.bio. Instead of just giving you a standard feed, it lets you visually build your page. You can drag and drop your Instagram grid right onto a canvas, then place it alongside other content like your latest YouTube video or a Spotify playlist. It transforms a simple feed into a truly integrated part of your online presence. Many tools like this are covered in our deep dive into the best social media aggregator tools.
To help you see it all at a glance, here’s a breakdown of how these methods stack up against each other.
Comparison of Instagram Feed Embedding Methods
This table breaks down the pros and cons of the four main methods for embedding an Instagram feed, helping you choose the right approach for your specific needs.
| Method | Best For | Effort Level | Customization | Cost |
|---|---|---|---|---|
| Native Embed | Highlighting one single post in an article. | Low | None | Free |
| Instagram Graph API | Full creative control for a unique, branded feed. | High | Unlimited | Free (plus development costs) |
| Third-Party Widget | Dynamic, customizable galleries without any coding. | Low | High | Free to paid, depending on features |
| Taap.bio Smart Widget | Integrating a feed into a visual "link in bio" page. | Very Low | Very High | Freemium plans available |
Ultimately, the right choice really hinges on what you’re trying to achieve. For a quick, one-off post, the native embed is fine. For ultimate creative freedom with a budget to match, the API is your playground. But for a powerful, customizable, and hassle-free feed, a third-party widget is almost always the smartest way to go.
Using the Instagram Graph API for Full Control
If you're a developer or just someone who craves complete control over how your Instagram feed looks and behaves, then rolling up your sleeves and using the Instagram Graph API is your best bet. This is the pro-level approach. Forget pre-built widgets and their limitations; the API gives you direct access to your content, letting you build a feed that is 100% unique to your brand.
Think of it this way: a widget is like ordering a pre-made meal, but the API is like being handed a full pantry of ingredients. You have the ultimate power to craft the final dish. This means you can design a totally custom layout, add unique hover effects, or even weave your Instagram posts into other dynamic parts of your site. It’s a level of customization that widgets just can't touch.
What You'll Need to Get Started
Diving into the API isn't a simple plug-and-play affair. It's a developer-centric path, so before you start writing code, you’ll need to get a few things in order.
- A Facebook for Developers Account: This is your command center for accessing all of Meta's APIs, including the Instagram Graph API.
- An Instagram Business or Creator Account: The API won't work with a personal profile, so you absolutely need to have a professional account type.
- A Connected Facebook Page: Your Instagram account must be linked to a Facebook Page you own and manage.
Once you have these prerequisites squared away, the real technical work begins. You'll need to create a "Facebook App" inside your developer dashboard. This app is the official bridge connecting your website to Instagram's servers, allowing them to talk to each other.
This diagram breaks down the different ways you can embed a feed, highlighting how the direct API route involves more technical steps compared to the other options.
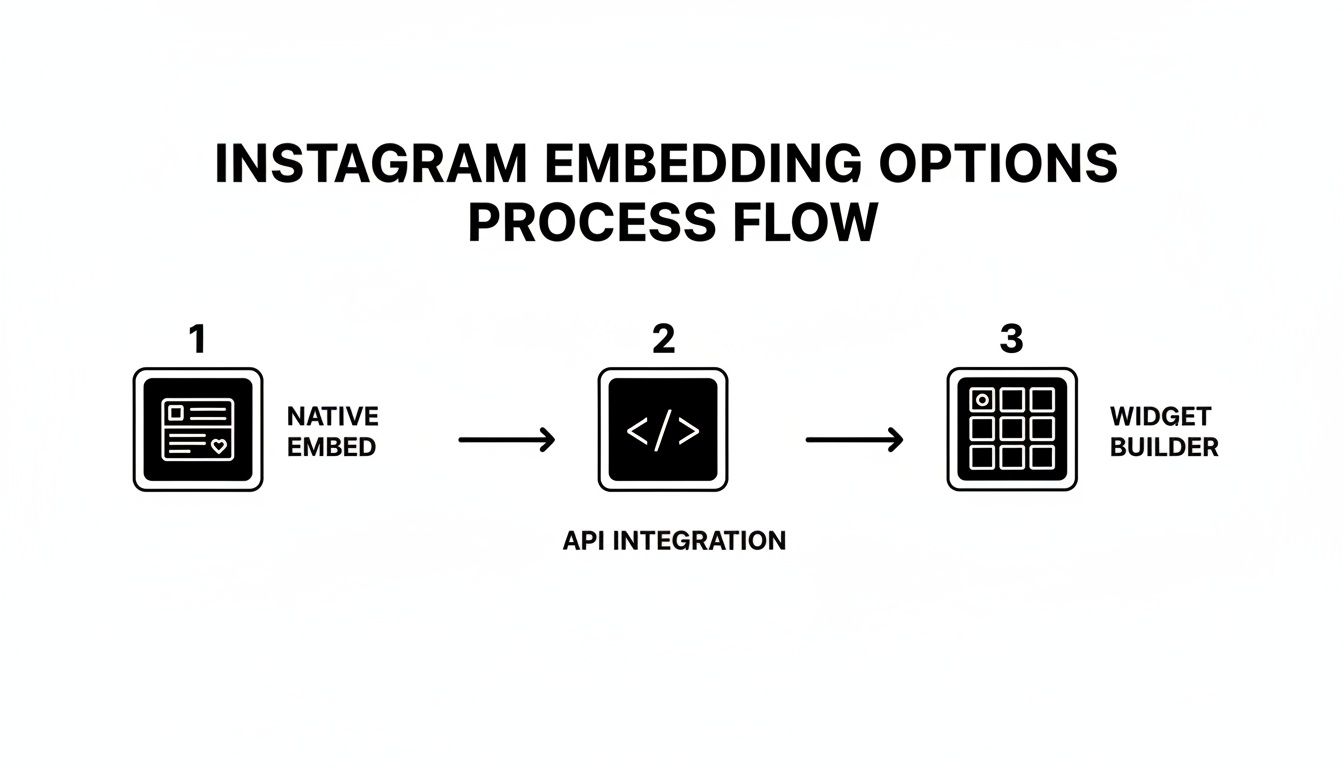
As you can see, the API path is for those who are comfortable with the coding side of things, while widgets offer a much more straightforward process.
Getting the Keys: Permissions and Access Tokens
With your app created, the next hurdle is getting permission to actually pull your data. You have to explicitly request specific permissions for your app. The most crucial one to start with is instagram_basic, which grants your app read-only access to your profile info and media.
After your app gets the green light on permissions, you’ll generate an access token. This token is essentially a secure key that you include in your API requests to prove you have the right to access the account's data.
A word of warning here: the default access tokens you get are short-lived and expire very quickly. For any live website, you must exchange it for a long-lived token, which lasts for 60 days, and then build a system to automatically refresh it before it expires.
Forgetting to refresh your token is a classic mistake I've seen countless times. Your feed will work perfectly for two months and then suddenly break. To avoid this, you absolutely need to set up a cron job or a serverless function to handle token renewal.
Since you're handling sensitive access keys, security is paramount. It’s always a good idea to follow established REST API security best practices to keep your application and its data locked down.
Putting It All Together: Fetching and Displaying Your Feed
Once you have a valid, long-lived access token, you're ready for the fun part: making API calls to fetch your Instagram posts. Here’s a quick look at what an API endpoint request might look like to grab your 12 most recent posts, including their URLs, captions, and links.
The API will send back a JSON object packed with an array of your media. From there, it's all on you. You'll use your front-end code (like JavaScript) to loop through that data and render it into a grid, a carousel, or whatever custom layout you’ve dreamed up. If you're curious how this fits into the bigger picture, our guide on social media integration tools provides some broader context.
Just be careful with API rate limits. Instagram puts a cap on how many requests you can make in a given window of time. If you have a high-traffic site, you must implement a caching strategy. This means storing the API response on your server for a few minutes or more, which prevents you from hitting those limits and ensures your page loads fast for every visitor. The API is a powerful tool, but it demands a thoughtful approach.
The Easiest Way to Embed Your Feed: Using a Smart Widget like Taap.bio
Wrestling with the Instagram API gives you a ton of control, but let's be honest—it’s a huge time-sink and requires serious technical chops. So what if you could get a dynamic, live-updating Instagram feed on your site without writing a single line of code?
That’s where smart widgets, particularly the one from Taap.bio, come in. This isn't just about slapping a static grid of photos onto a webpage. It’s about weaving your Instagram presence into a more engaging, interactive dashboard that truly represents you. Think of it as a flexible, drag-and-drop canvas where your Instagram feed sits right alongside the other key parts of your digital world.
More Than Just a List of Links
The whole point of a tool like Taap.bio is to ditch the boring, vertical list of links we’re all used to. Instead, it uses a modular "bento box" design that lets you create a visually striking and much more functional hub. You aren’t just embedding a feed; you’re designing an experience that reflects your personal brand.
Instead of hunting down API keys and wrestling with refresh tokens, the entire process is just a few clicks. You sign up, connect your Instagram account, and add the Instagram "smart widget" to your page. It’s all done visually. No code, no developer dashboards, just intuitive design.
The real magic is in the flexibility. You can resize the Instagram block to be a small square, a tall vertical slice, or a wide banner, making it fit perfectly with your other content.
What Makes It a “Smart” Widget?
The "smart" part comes from its ability to pull and display live data automatically. This isn’t just a static photo gallery; it’s a living, breathing snapshot of your Instagram profile. The widget pulls in several key pieces of information in real-time, giving your visitors a much richer experience.
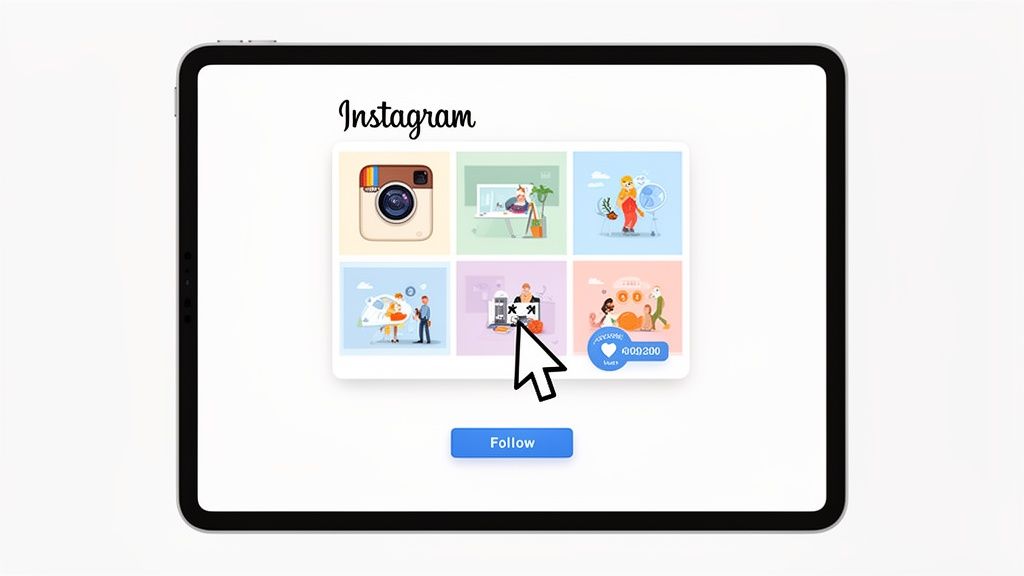
The Taap.bio Instagram widget doesn't just show your pictures. It creates a mini-profile that lives on your page, complete with your latest posts, follower count, and a direct "Follow" button, turning passive viewers into active followers.
This simple feature turns your page into a powerful conversion tool. Someone can see your latest content and decide to follow you right then and there, without ever leaving your page. That removes a huge point of friction.
Here’s what the Taap.bio Instagram widget pulls in for you:
- A Live Grid: It displays your six most recent Instagram posts, so your page always feels fresh and current.
- Real-Time Follower Count: This works as powerful social proof, showing visitors the strength of your community.
- A "Follow" Button: This is the most important part—an immediate call-to-action that can grow your audience directly from your landing page.
You can learn more about how to create the perfect link in bio for Instagram using these kinds of integrated tools. It’s an especially powerful strategy when you’re already driving high engagement on your content.
This integration is more important than ever. By 2026, Reels are on track to become the heart of Instagram, accounting for 50% of global time-on-app and powering a $50 billion ad run rate. Accounts with over 50K followers are already posting a Reel every two days, fueling 45% of their total engagement. When you embed your Instagram feed with a tool like Taap.bio, you're plugging that engagement engine directly into your page.
Creating a Clear Visual Flow
One of the best things about using a tool like Taap.bio is the power it gives you to create a visual hierarchy. Not all of your content is equally important, and your page should guide your visitor's eye accordingly. Since the Instagram widget comes in multiple sizes, you get to decide how much attention it gets.
For example, you could go with:
- A large, prominent Instagram block if your visual content is the cornerstone of your brand.
- A medium-sized block placed next to your latest YouTube videos to create a balanced media dashboard.
- A compact, vertical widget to act as a secondary highlight next to a primary call-to-action, like a newsletter sign-up.
This freedom lets you build a page that tells a story and directs your visitor’s attention exactly where you want it. You can pair your Instagram feed with a Spotify widget showing your monthly listeners, a YouTube widget with recent videos, or even a simple text block with a powerful customer testimonial.
The result is a cohesive, personalized landing page that does way more than just list links. It gives visitors an interactive look at your entire online presence in a single glance. For anyone looking to embed an Instagram feed without the technical headache, this smart widget approach is the perfect blend of power, simplicity, and fantastic design.
Pro Tips to Get the Most Out of Your Embedded Instagram Feed
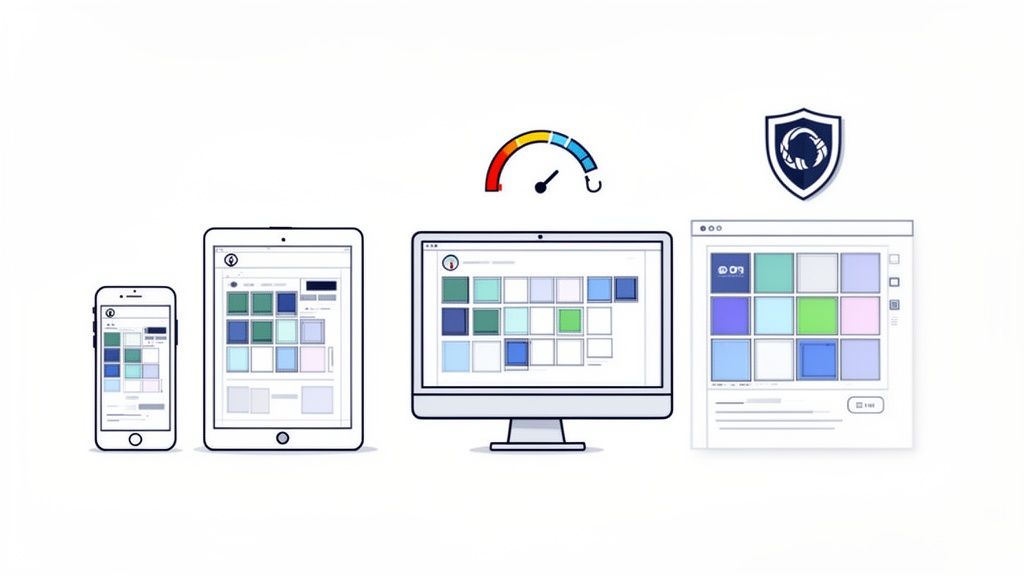
Getting your Instagram feed to show up on your website is one thing. Making it fast, beautiful, and strategic is another game entirely. I’ve seen it countless times: a business drops a feed onto their homepage, only to find it slows the whole site down or looks terrible on a phone.
The whole point is to elevate your website, not drag it down. That means thinking carefully about performance, how the feed looks on different devices, and even data privacy. Let's dig into some practical, battle-tested advice to turn your embedded feed into a real asset.
Nail Your Responsive Design
This one is non-negotiable. Your embedded feed has to look fantastic on every single device. With more than half of all web traffic coming from mobile phones, a feed that forces users to pinch and zoom is dead on arrival. They’ll just leave.
This is where a good widget-based tool really shines. Platforms like Taap.bio are built to be responsive right out of the box, ensuring your grid of photos adapts perfectly from a huge desktop monitor down to the smallest iPhone screen.
If you’re going the custom route with the API, that responsibility lands squarely on your shoulders. You’ll need to get comfortable with CSS media queries to build fluid grids that reflow without a hitch. For more complex features, you might even need to hire javascript developers to get the job done right.
Get Smart About Caching
An Instagram feed, especially one built with the API, can add a bunch of network requests that make your page load like it's 1999. Page speed is everything; even a one-second delay can send your bounce rate through the roof.
Caching is your secret weapon here. It’s simply the process of storing a temporary copy of your feed’s data so you don’t have to hammer Instagram’s servers every time someone visits your site.
- Server-Side Caching: This is the gold standard. Your own server grabs the feed from the API and saves it for a specific time—say, 15 minutes. It then serves that saved version to your visitors, which is lightning-fast and cuts down on API calls.
- Client-Side Caching: You can use a visitor's browser storage (like
localStorage) to cache data, but this doesn't help with that critical first page load. - Widget Caching: The best third-party widgets have this built-in. They manage all the caching complexity for you, so your feed stays both fresh and fast without you having to lift a finger.
Finding the right cache time is a balancing act. Shorter intervals keep the feed more current, while longer ones boost performance. For most websites, a cache duration between 15-30 minutes is the perfect sweet spot.
Curate the Top Row for a Killer First Impression
Here’s a pro-level tip that most people miss: the top row of your Instagram grid is prime real estate. Think about it—most embedded widgets show your latest posts, usually the most recent 6 to 9 images. This means your three newest posts almost always form that crucial top row.
Use this to your advantage. Before a big product launch or a major announcement, strategically plan your posts so your most compelling, on-brand content sits right at the top. You can also use Instagram's "Pin to Profile" feature to lock up to three key posts in place, giving you total control over the first impression your embedded feed makes.
This visual curation is more important than ever. In 2025, Instagram's organic engagement dipped by about 24%, bringing the average rate to a tiny 0.48%. Interestingly, carousels bucked the trend, performing better at 0.55%. Embedding your feed with a tool like Taap.bio helps you fight back by showcasing your best content—like those high-performing carousels—in a dynamic grid right on your site.
Finally, don't forget about privacy. If you have visitors from Europe, your embedding method needs to be GDPR-compliant. Some simple embeds drop tracking cookies without asking, which is a major no-no. A quality Instagram widget for your website will almost always have compliance features baked right in.
Common Questions About Embedding Instagram Feeds
After helping so many people get their Instagram feeds onto their websites, I've noticed the same questions come up again and again. These are the little details that can feel like major roadblocks, but they don't have to be. Let's clear up these common sticking points so you can get your feed live without the headaches.
First up, the big one: "Can I embed a feed from my private Instagram account?"
The short answer is a hard no, and for good reason. Both the official Instagram Graph API and third-party tools are built to respect user privacy. If your account is set to private, your content is only meant for your approved followers. Embedding tools simply can't (and shouldn't) bypass that.
This is exactly why you'll need an Instagram Business or Creator account for almost any embedding method. These professional accounts are designed for public reach and come with the API access that personal accounts lack. So, your first step before anything else is to make sure your profile is public and switched to a professional account type.
Will an Embedded Feed Slow Down My Website?
This is probably the second most common worry I hear. You go to all the trouble of adding a gorgeous feed, only for it to drag your page load speed into the mud. Thankfully, most modern solutions are built to prevent this.
The magic here is something called asynchronous loading. Think of it this way: your website loads all of its main content first—the text, the banners, the important stuff. The Instagram feed then loads in the background, a fraction of a second later. Your visitor can start reading and interacting with your page immediately, and the feed simply appears when it's ready. This prevents the feed from ever blocking your page from loading.
Smart widgets, like the one offered by Taap.bio, really nail this. They bake performance optimization and caching right into the tool, so you get a blazing-fast feed without having to mess with any of the technical stuff yourself.
This is more important than ever. Reels have completely changed the game. Back in 2023, Instagram’s algorithm shift to prioritize Reels caused time spent on the app to leap by 24%. Fast forward to 2025, and Sensor Tower data reveals Reels now account for a staggering 46% of all time spent in the U.S. app. You have to be able to embed that rich, dynamic video content without a performance penalty, and modern tools make that possible. You can read more about the impact of Reels statistics on Loopex Digital.
How Often Does the Embedded Feed Actually Update?
"If I post something new on Instagram, will it show up on my site right away?" It's a great question, and the answer really depends on which path you took. The refresh rate can vary quite a bit.
- API-Based Feeds: If you're a developer building a custom solution with the API, you get a lot of control. But you can't just hit the API every second—you'll run into rate limits. A realistic setup involves a scheduled task (like a cron job) that fetches new posts every 15 minutes to an hour.
- Third-Party Widgets: This is where convenience wins. Most widget services handle the syncing for you. The refresh rate is usually tied to your plan. A free plan might only update once every 24 hours, whereas paid plans can bring that down to every 15-30 minutes.
Herein lies the classic trade-off. A custom API build gives you ultimate control but puts the burden of managing refresh logic and potential errors on you. With a smart widget, the automatic syncing is just part of the package. You can post to Instagram and feel confident that your website or Taap.bio page will reflect that new content shortly, keeping everything in sync without you lifting a finger.
Ready to stop wrestling with code and start building a stunning, interactive page? With Taap.bio, you can drag-and-drop a live Instagram feed, YouTube videos, and more onto a beautiful, visual canvas in minutes. Turn your link-in-bio into a destination. Create your free page on taap.bio today.